Just a few days ago, I had never sewn anything.
I had never threaded a sewing machine, wound a bobbin, or followed a sewing pattern. I was given a Brother sewing machine and decided to jump right in by making my first pair of toddler pants.
After finishing the pants, I still had some leftover fabric, so I thought, “Why not try making a matching top?”
That first top actually turned out much better than I expected, but it also taught me a lot. It was a little wider than I wanted, the neckline gapped slightly in the back, and I realized the shoulder straps would look better if they sat a little closer together.
Instead of stopping there, I bought a beautiful ditsy floral cotton fabric and made another version using everything I had learned from the first top.
I absolutely fell in love with the result.
If you’re new to sewing, I hope this encourages you to simply start. Your first project doesn’t have to be perfect. Every mistake teaches you something, and every project builds your confidence.
Supplies
- Woven cotton fabric
- ½-inch elastic
- Matching thread
- Sewing machine
- Fabric scissors
- Pins or clips
- Safety pin
- Iron (optional)
Sizing
For reference, my daughter was:
- 2 years old
- 33¾ inches tall
- 28.1 pounds
She is tall and slender for her age.
These measurements worked well for my daughter, but every child is different. I recommend measuring your child’s chest before cutting fabric and adjusting the pattern to fit them.
Measurements I Used
For this version I cut:
- One rectangle 14 inches wide on the fold (28 inches around)
- 12 inches tall
- 5/8-inch side seam allowance
- 15-inch elastic (approximately 14½ inches after sewing the overlap)
- Two straps measuring 10 inches long by 2 inches wide
Step 1: Cut the Fabric
Fold your fabric in half with the right sides together.
Cut one rectangle:
- 14 inches wide on the fold
- 12 inches tall
When unfolded, your fabric should measure 28 inches wide.
Step 2: Sew the Side Seam
With the right sides together, sew the open side using a 5/8-inch seam allowance.
You should now have one large fabric tube.
Press the seam if desired.
Step 3: Make the Shoulder Straps
Cut two strips measuring:
- 10 inches long
- 2 inches wide
Fold each strip in half lengthwise with right sides together.
Sew along the long edge using about a ¼-inch seam allowance.
Turn the straps right side out using a safety pin or turning tool and press flat.
Step 4: Pin the Straps
Lay the tube flat.
Pin one strap to the front and one directly across on the back.
Position them approximately 2 inches in from each side seam.
I basted the straps to the top edge before making the elastic casing. Sewing the straps into the casing gave the top a much cleaner finish than sewing them on afterward.
If I make another version, I’ll probably move each strap about ½ inch closer toward the center.
Step 5: Create the Elastic Casing
Fold the top edge toward the inside about 1 inch.
The folded edge should enclose the raw ends of the straps.
Pin around the top.
Sew all the way around, leaving a 2-inch opening for the elastic.
Step 6: Insert the Elastic
Attach a safety pin to one end of the elastic.
Thread it through the casing until it comes back out the opening.
Be careful not to twist it.
Overlap the elastic ends by about ½ inch and sew them together securely.
Pull the elastic back inside the casing.
Sew the opening closed.
Distribute the gathers evenly around the neckline.
Step 7: Hem the Bottom
Fold the bottom edge up ¼ inch.
Fold it up another ¼ inch.
Sew all the way around the bottom edge.
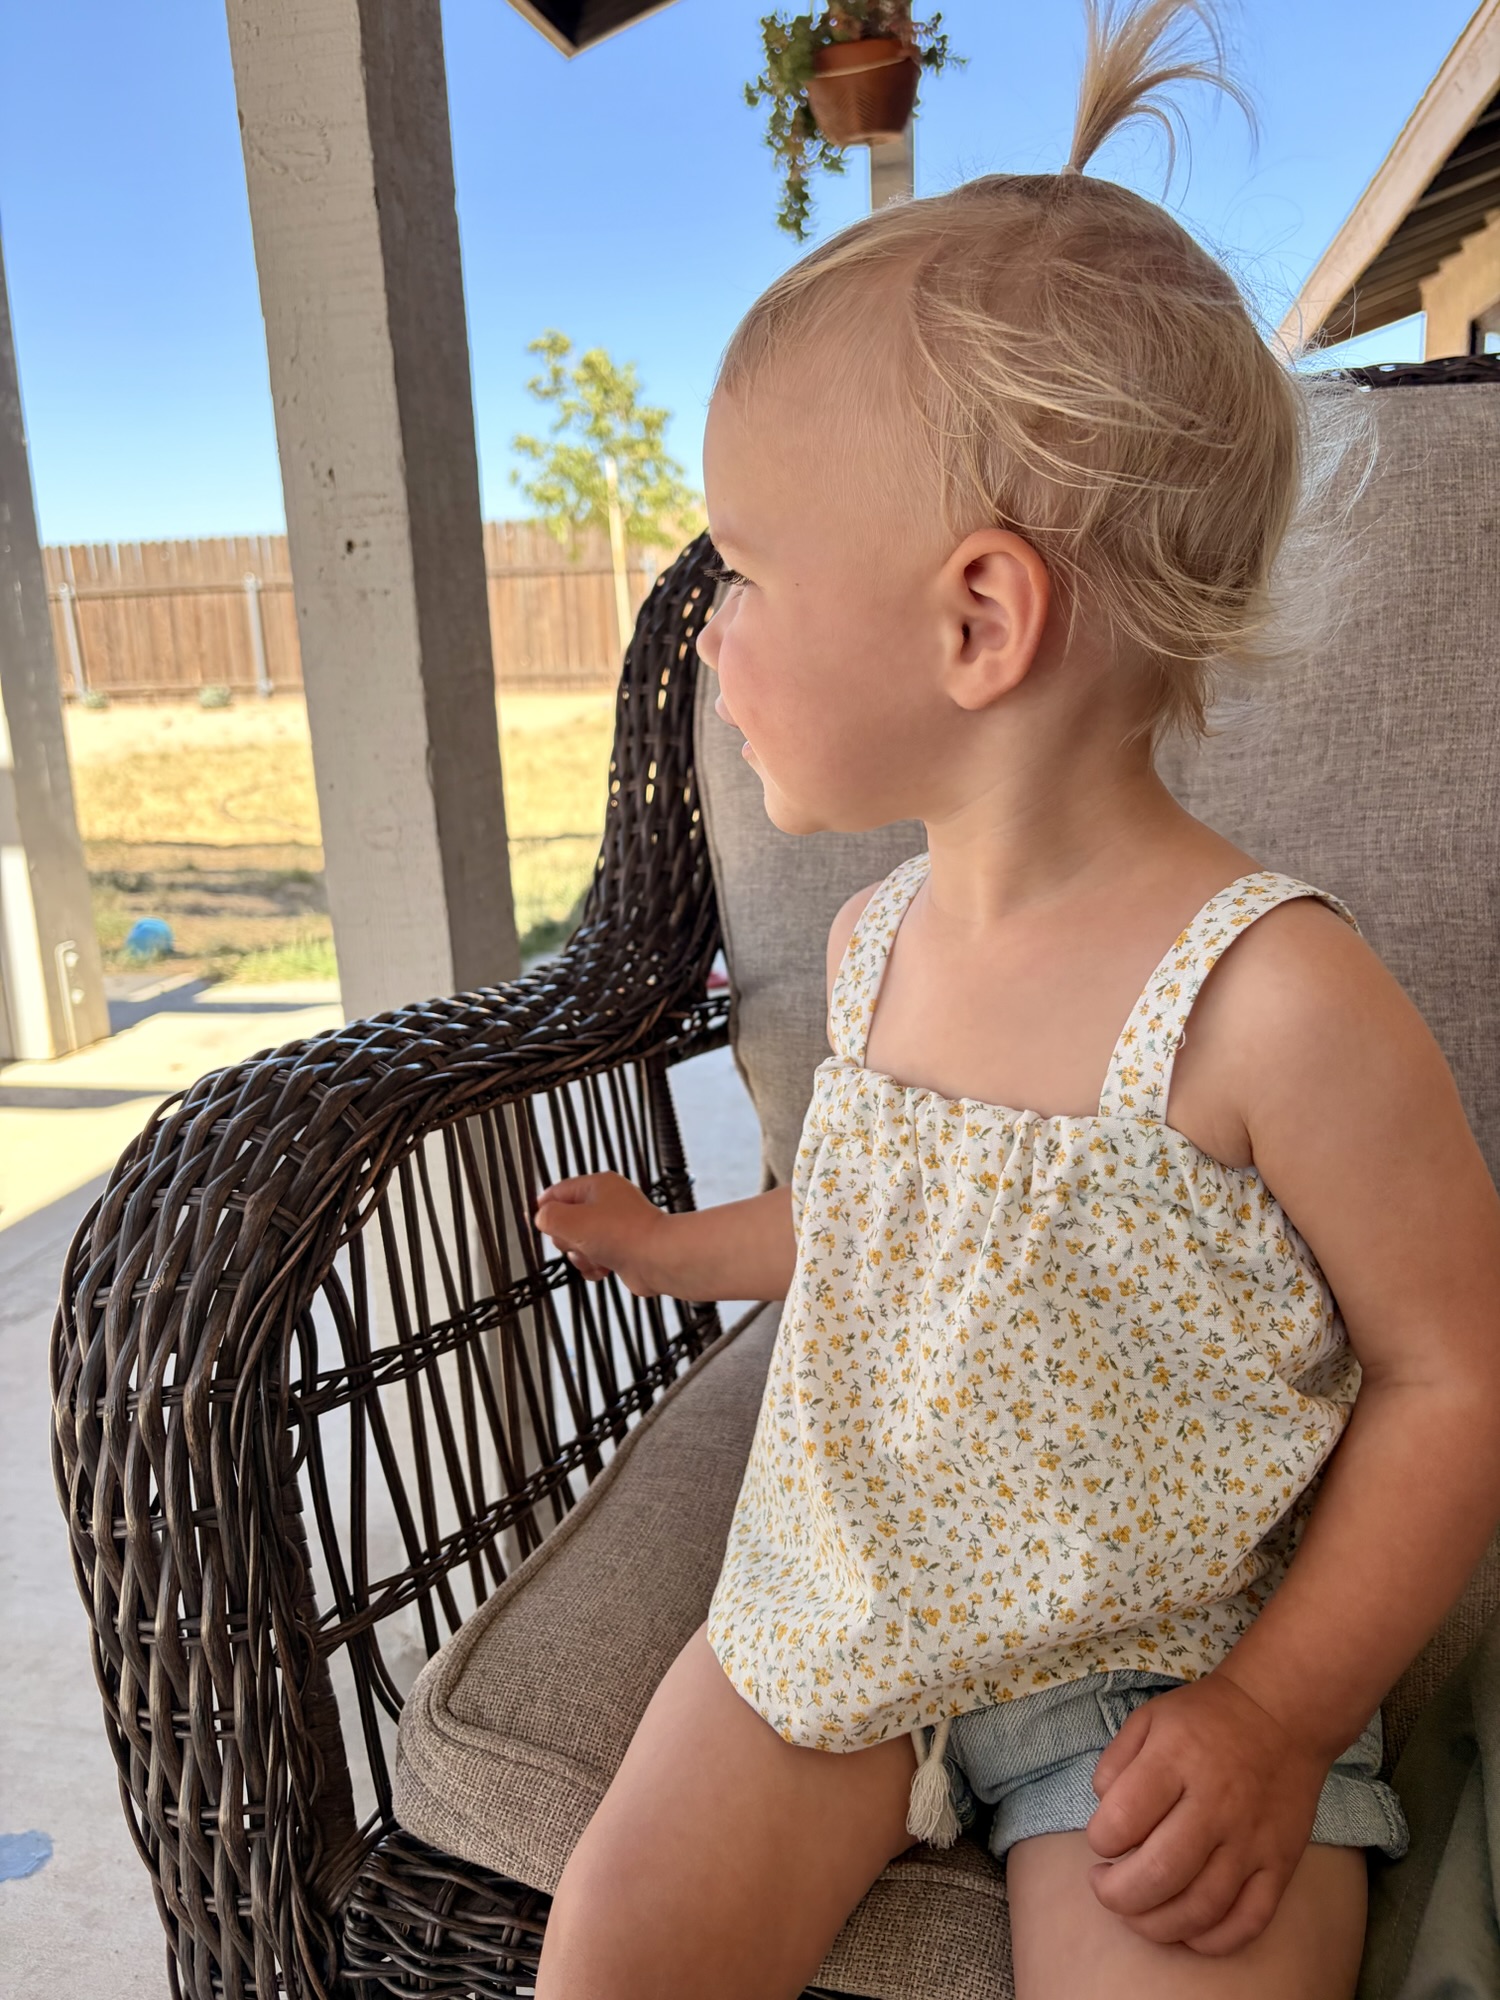
The Finished Top
That’s it!
One simple rectangle of fabric turned into a lightweight summer top.


What I Changed From My First Version
One of the things I love about sewing is that every project teaches you something.
After making the first top, I made a few changes:
- I narrowed the body of the shirt.
- I shortened the elastic to create a better fit.
- I sewed the straps into the elastic casing instead of attaching them afterward.
- I adjusted the strap placement for a cleaner look.
Those small changes completely changed the finished top.
Final Thoughts
I never imagined I’d be sewing clothes just a few days after learning how to thread a machine, but here we are.
This little top reminded me that you don’t have to know everything before you begin. You learn by making, adjusting, and trying again.
If your child is built differently than mine, don’t be afraid to change the measurements. That’s one of the best parts of sewing your own clothing—you can create something that fits your child instead of trying to fit your child into a standard size.
I already have plans to make this pattern again in more colors and prints. I think it’s going to become one of our favorite handmade summer staples.
Leave a Reply